Problem Solving: Addressing Thread Breakage
/We’ve all been there. You’ve got your fabric cut, your thread matched to your project, music on, you press your foot down, and a few minutes later your thread snaps. Instant stress and frustration! In this article, we’ll talk about the common reasons for thread breakage and provide some tips and tricks for addressing this aggravating issue.
If you haven’t checked out our “Get Sewing” series and you’re a sewing beginner, that would be a good place to start. So far, we’ve covered how to wind a bobbin, how to thread your sewing machine, how to choose a needle for your project, and how to choose the correct thread.
As always, please also refer to the manual for your specific machine. Many of the concepts are the same for any sewing machine, but there may be some slight differences.
Process of Elimination: Change Your Thread
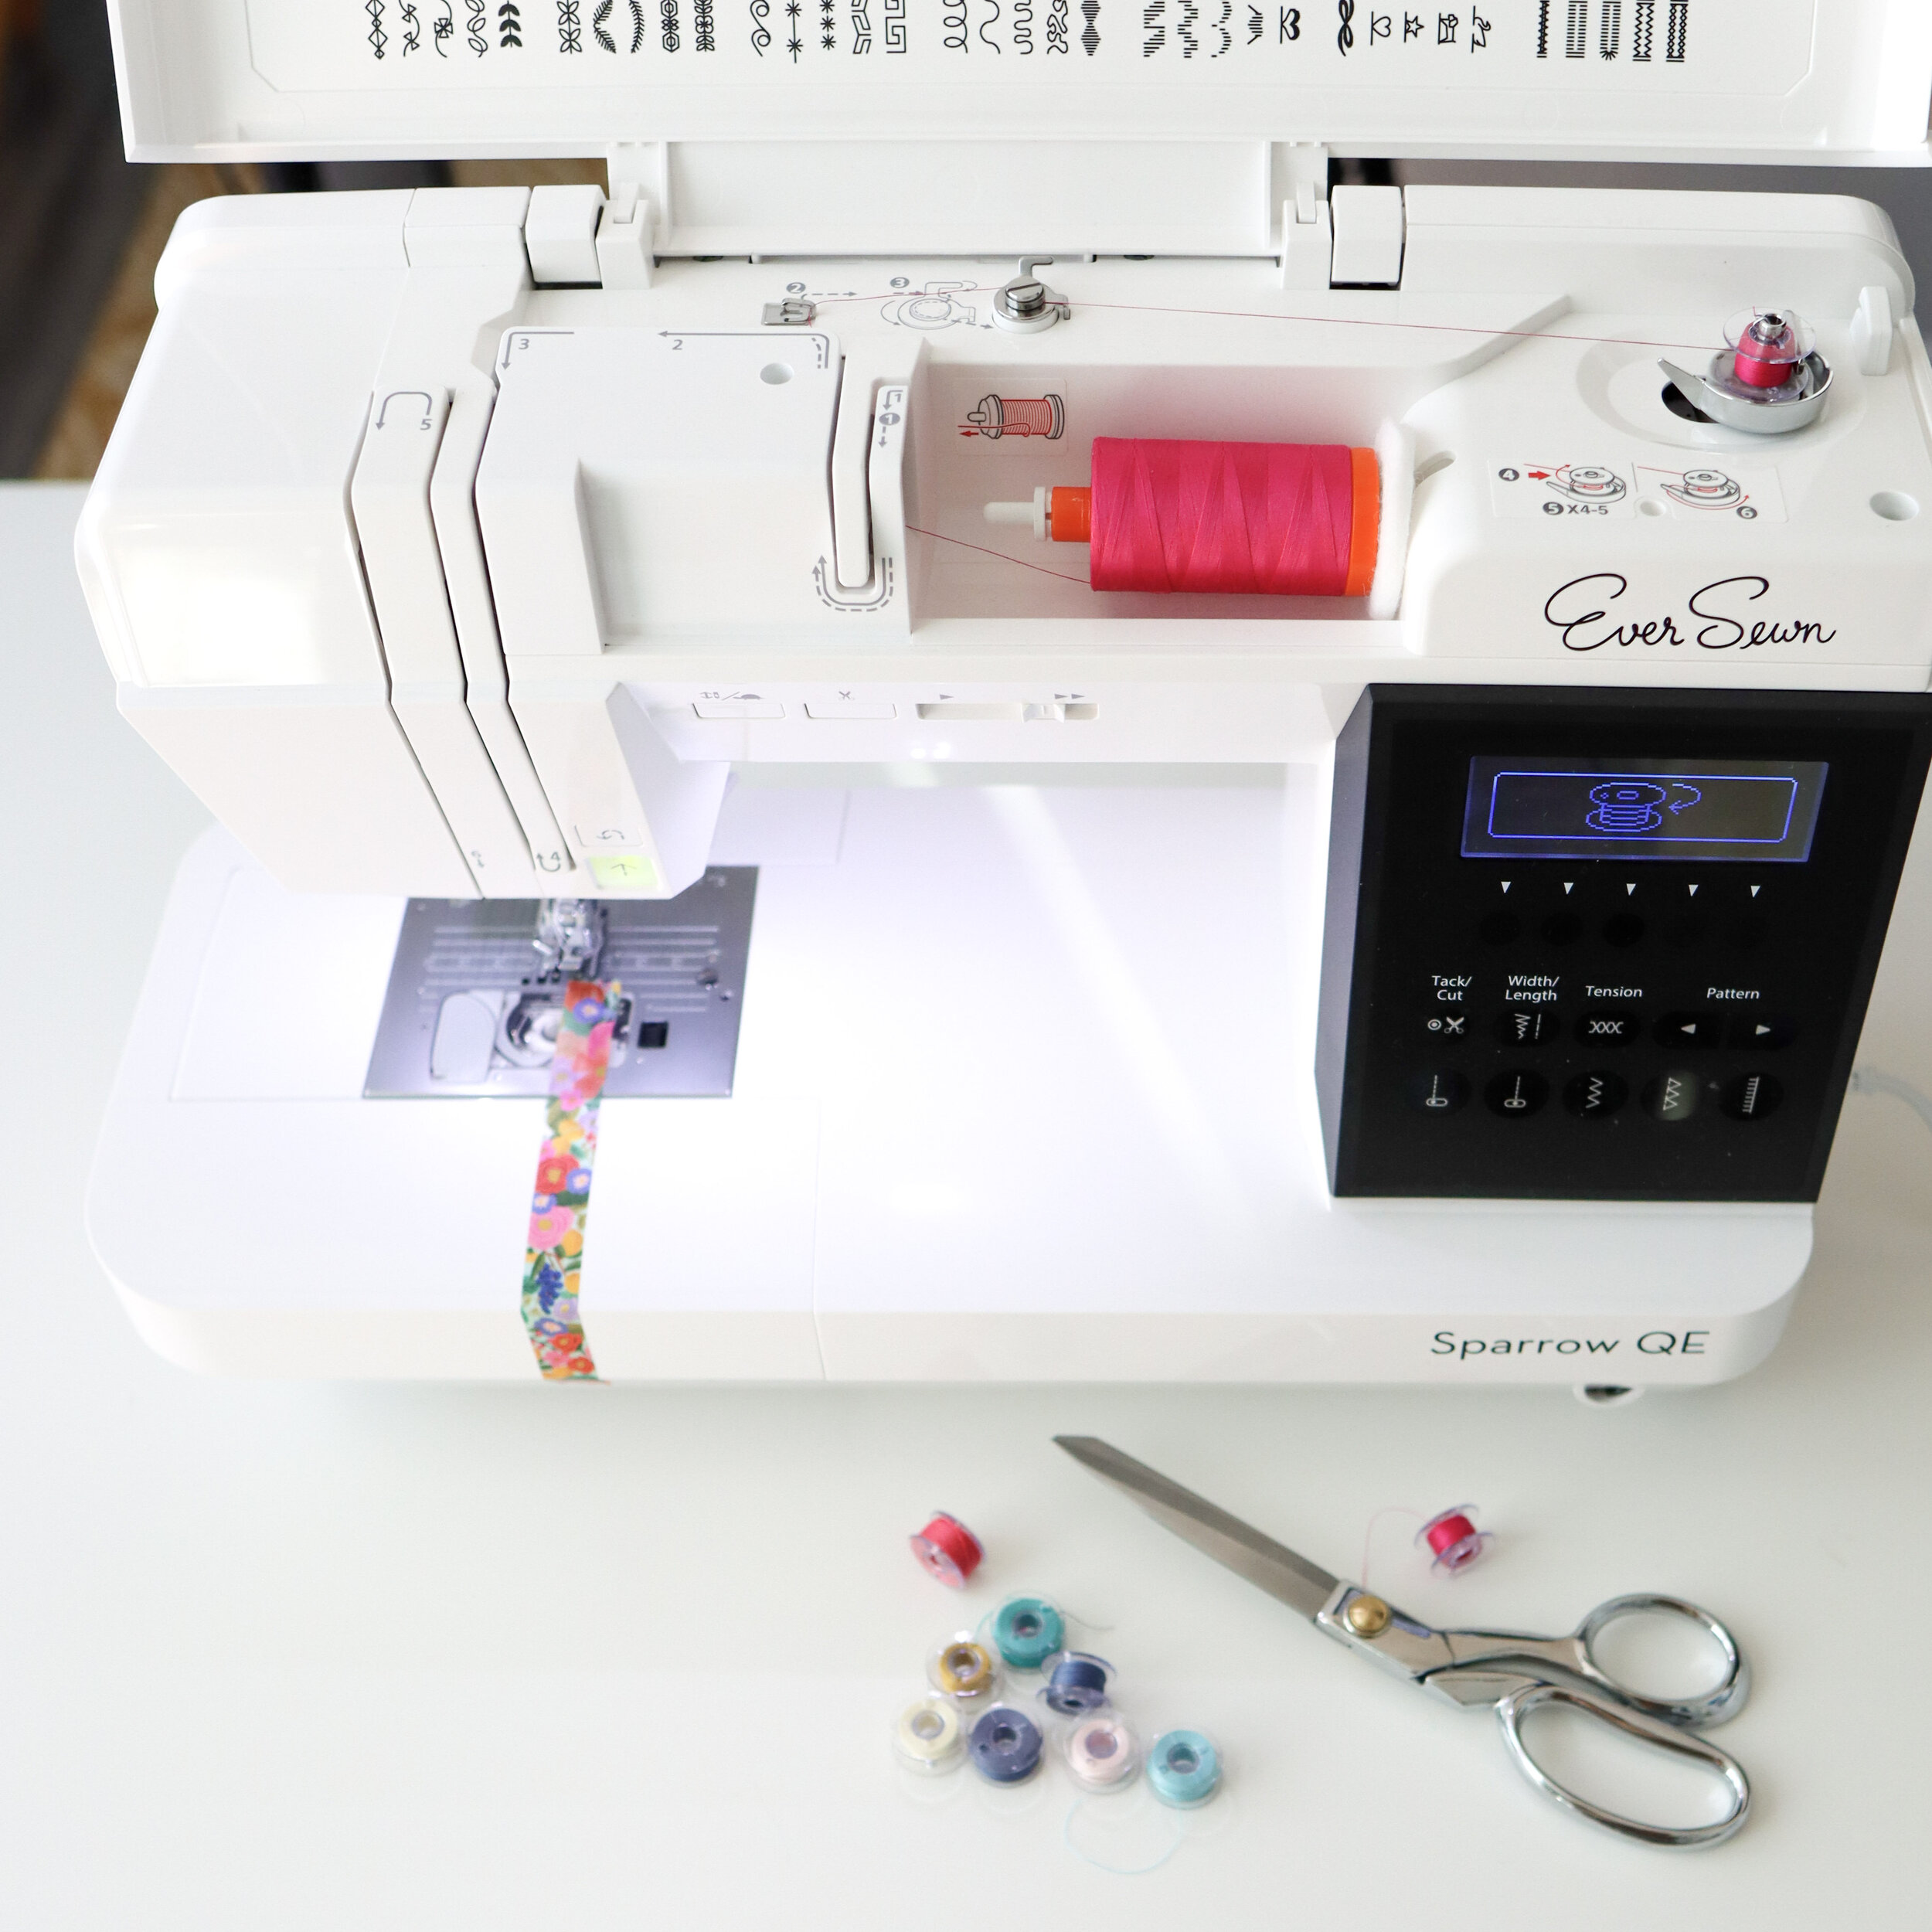
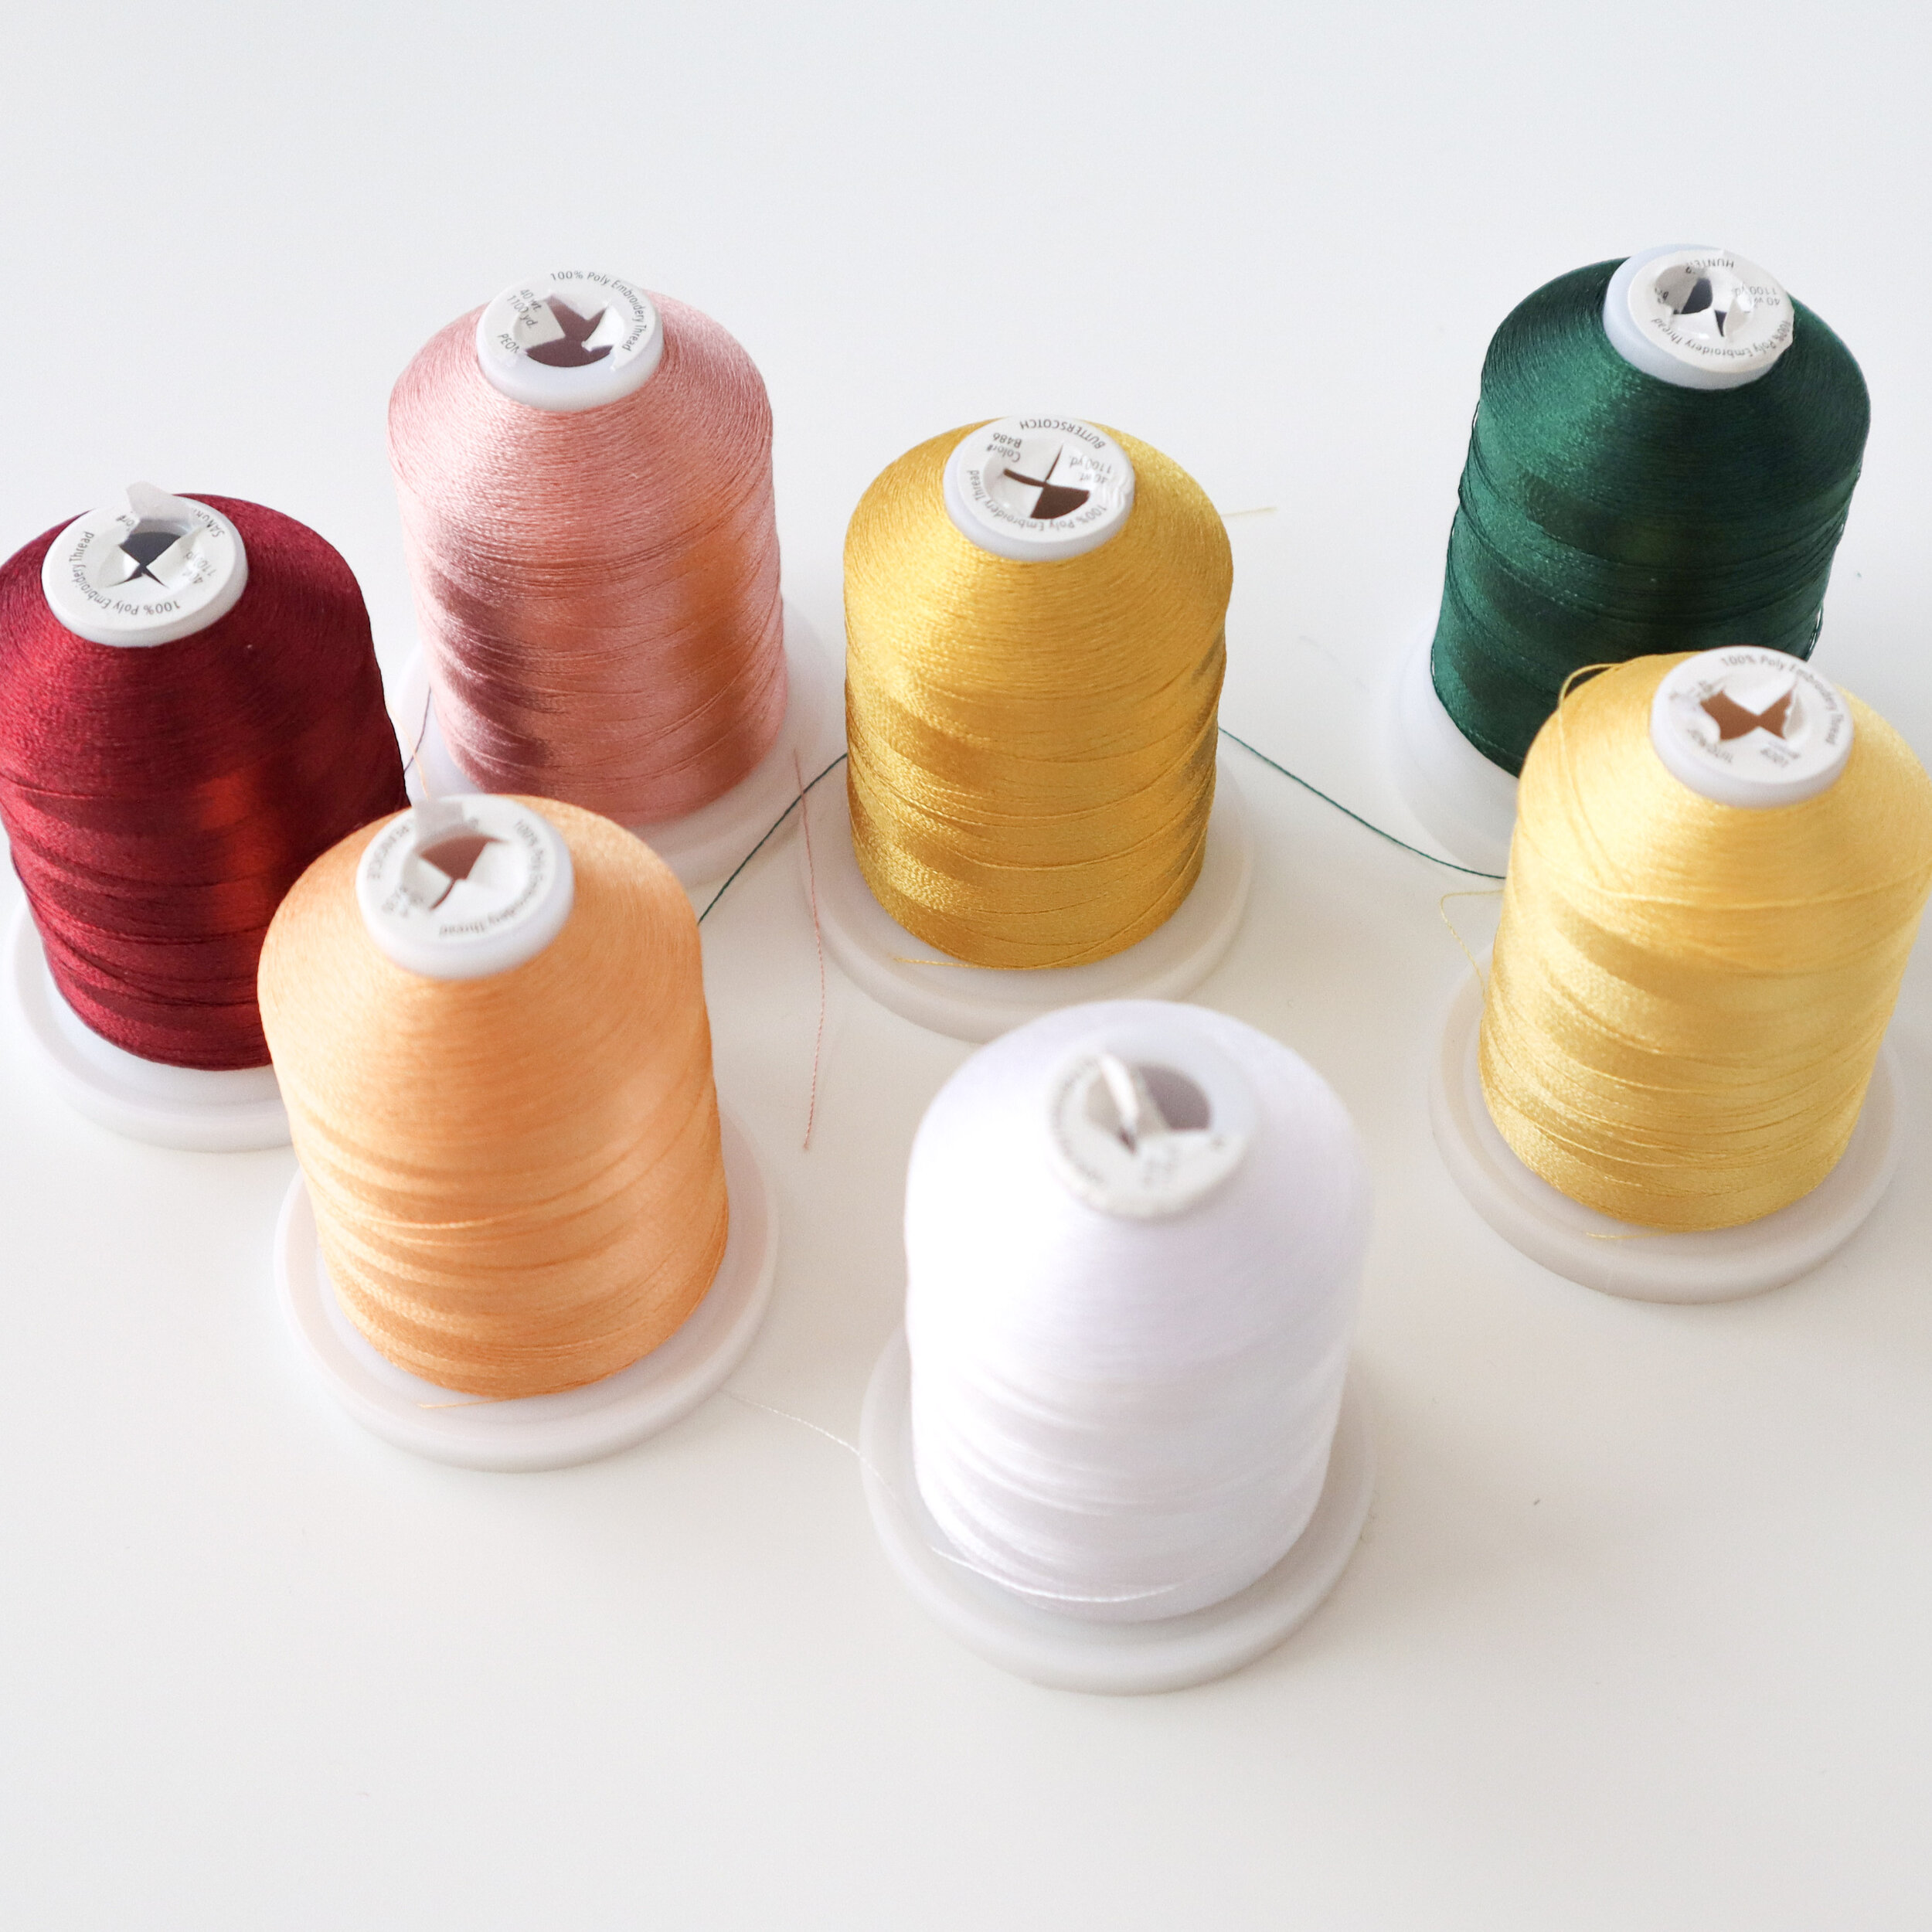
The quality of your thread makes a massive difference. If you are consistently having thread breakage issues, it may be the quality of the thread you’re using, or the spool that the thread is on. If you’ve upgraded to a high-quality thread and you are still having issues, we still recommend making a thread change as the first step to address thread breakage problems. Make sure the spool doesn’t have any rough spots that could be catching the thread. Some spools have a slit that holds the thread tail while the thread is in storage. On occasion this has been known to catch on thread and break it.
Another solution can be to cover the spool of thread with a thread net. Some threads, like metallic, will unwind quickly. This can cause the thread to get caught up on different parts of the machine. Using a thread net helps to create proper thread tension.
It’s also important to make sure the type of thread and needle you’re using match your project (and work well with each other!). Please see our post on how to choose a needle for your machine and project as well as our post on how to choose the correct thread for guidance.
If the machine sews smoothly once you’ve changed your thread, congrats! Problem solved! If your thread continues to break, don’t worry. We’ve got plenty of other troubleshooting tips ahead.
Rethread the Machine
Yes, we mean all the way. Something along the thread path may be caught and starting over on threading your machine could eliminate the snag. Make sure your thread is fully engaged in the tension disks. As we mentioned in how to thread a sewing machine, your needle must be in the highest position and the presser foot must be up when threading or the thread will not be able to engage with the tension disks properly.
Change the Bobbin Thread
Don’t forget to rethread the bobbin! Make sure you’re starting off with a Class 15 bobbin that is in good condition. Inspect the bobbin to make sure that there are no sharp edges and that it is not damaged. The bobbin should be wound correctly, with smooth thread that feels dense, if you can easily move the thread that is wound around the bobbin between your fingers you might need to rewind the bobbin follow our instructions on how to wind a bobbin. The bobbin should look like a “p”, not a “b”, when being inserted into the bobbin case. If the bobbin is inserted with the thread going the wrong direction it can break the needle and cause improper thread tension. When threaded properly you should see the bobbin thread going across the left side of the bobbin beneath the bobbin cover as seen in the image below.
Change the Needle
The eye of your needle can be really sharp and can definitely shred your thread. If you’ve been using the same needle for a while or if you’ve used the needle with metallic or heavily textured thread, burrs can form in the eye snagging your thread and causing it to break.
Loosen the Tension
Thread tension can be the root of many sewing machine problems, thread breakage included. Try loosening the tension entirely and sewing some stitches. Yes, they’ll look terrible but if your thread still breaks then you know tension is not your issue. If the machine sews fine with loose tension, try tightening the tension in small increments until either your thread breaks again or until you’re at your desired tension level.
Look for Burrs
Break out that magnifying glass! Tiny burrs or scratches that are almost invisible can snap even the toughest thread. Closely examine each part of your machine where thread touches to look for any imperfections. If you find a burr or scratch, sometimes they can be carefully handled at home with very fine emery paper.
Pay Attention to Your Material
Are you sewing through layers of glued or ironed-on material? If so, the friction from your needle can cause the glue to soften. This can create a wide range of issues, including thread breakage. Take it slow if you’re working on a project like this and give your machine breaks to allow the needle to cool. Review our post on choosing the right needle to make sure you’re using the right needle. Heavy dense fabric like denim or felt can also be difficult to sew through without the right needle.
Leave it to the Pros
If you’ve tried all the tips we’ve provided here and your thread is still breaking regularly, taking your machine to a professional to be serviced is your best bet. Your local quilt shop likely either has someone on staff or can recommend someone in your area.


