

Tips for Using an Automatic Needle Threader
/Imagine being able to thread your sewing machine without breaking out those magnifying glasses or squinting with your tongue stuck out in concentration. Sounds like a dream, right? Well, if your machine has an automatic needle threader (many of the EverSewn sewing machines have this feature) that dream can be a reality.
Using this feature can sometimes have a learning curve and we want to help set you up for success using your automatic needle threader. Follow these tips and say goodbye to struggling with threading your machine’s needle forever!
As always, please also refer to the manual for your specific machine. Many of the concepts are the same for any sewing machine, but there may be some slight differences.
TIP 1: Needle Position Matters
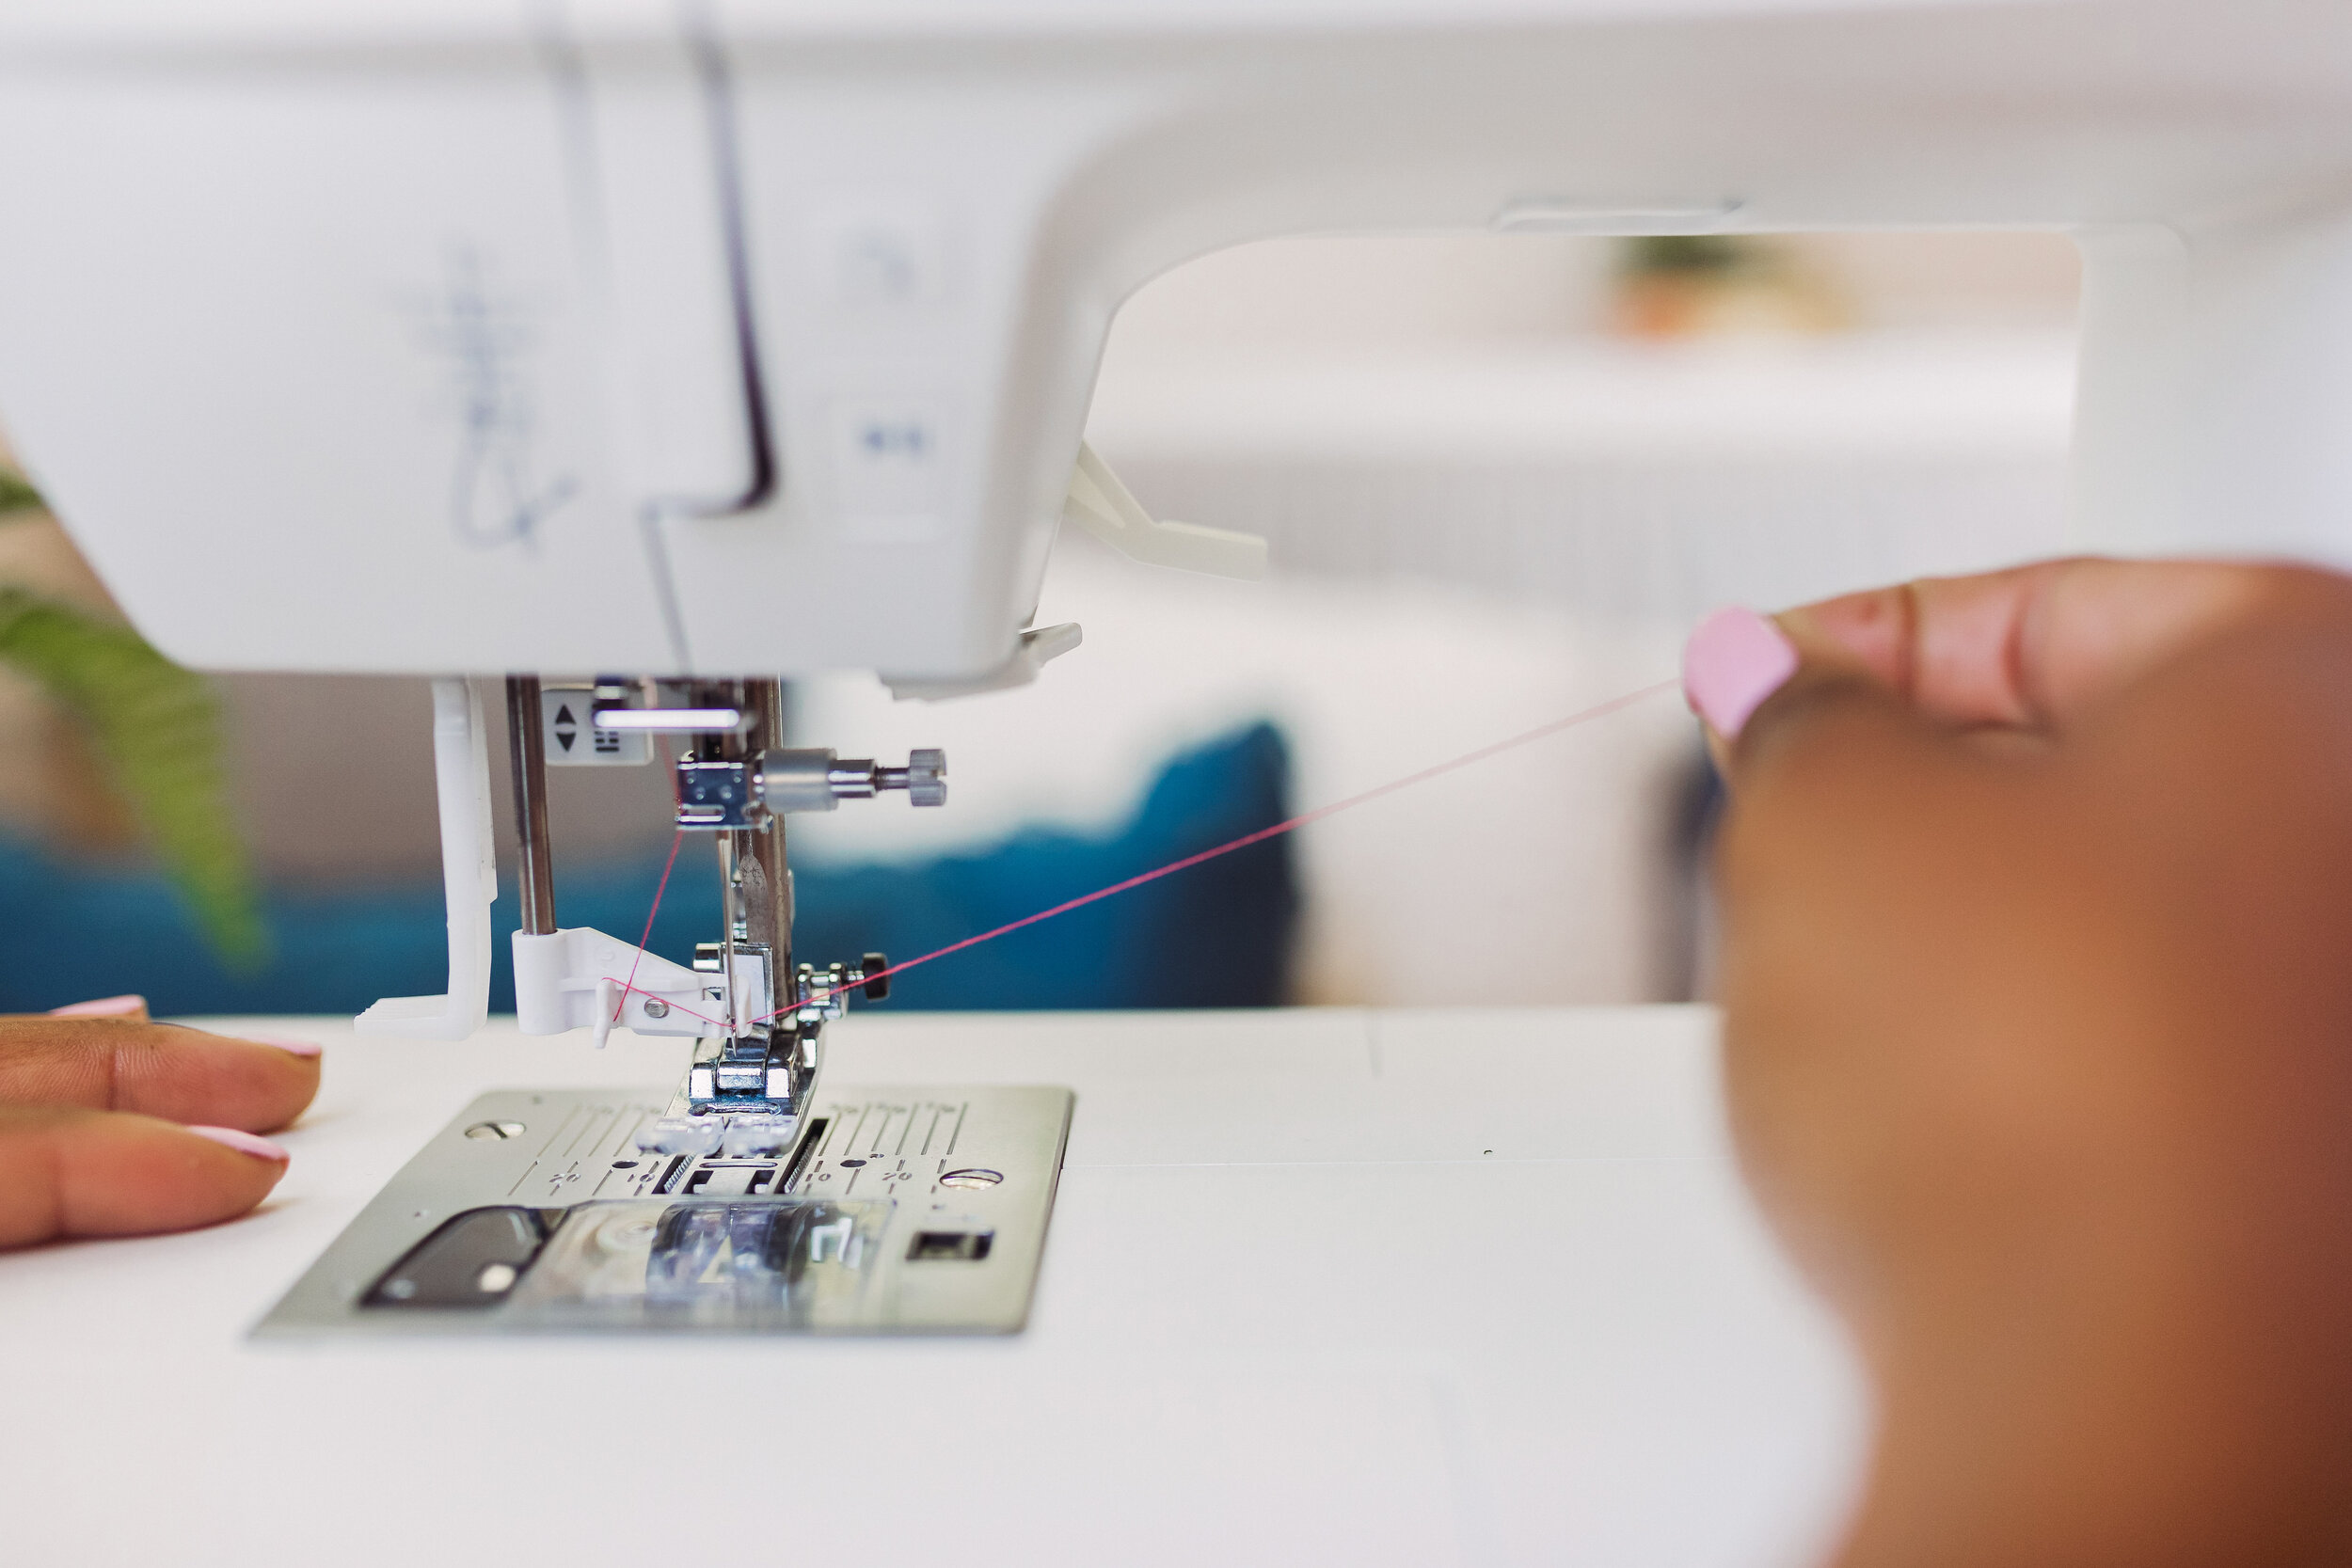
The very first thing to check is that your machine’s needle is inserted all of the way. A loose needle won’t thread correctly and may even damage the automatic threader.
The second thing to check is that your needle is in the topmost position. Turn the handwheel toward you to raise the needle to the highest position.
If the needle isn’t seated correctly or is not in the topmost position, the threader will hit the needle itself instead of passing through the eye. This can cause the threader’s hook to bend.
TIP 2: Needle Size Matters
We highly recommend not using your automatic needle threader on needle sizes smaller than 70/10. Needles smaller than this size have eyes too small for the hook to pass through.
Forcing the automatic threader through a small eye can cause damage to both the threader and the needle. At best, the threader could scratch your needle causing issues with thread passing smoothly through the eye as you sew. Because the thread goes through the needle around 80 times before resting in its final position this type of damage to the needle can result in broken thread.
TIP 3: Thread Matters
As with any sewing project, make sure that your needle and thread size match. Forcing thick thread through a narrow needle eye can cause damage to the threader and will not lead to a pleasant sewing experience.
It is not recommended that you use the automatic threader with metallic or stiff thread. These types of thread can cause damage to the threader hook.
TIP 4: Let it Go
Go ahead and belt it out - we’ll wait. Once you’re done singing like a certain snow queen we all know, it’s important to remember to release your thread as soon as the automatic threader hook starts to pull your thread through the eye of your needle. This may take some practice, but putting too much tension on the thread as the threader starts to pull can damage the hook.
TIP 5: Common Fixes
If you’ve tried all of the above and you’re still not finding success, try a new needle. Sometimes older needles can have minuscule burs in the eye that cause the thread or threader hook to catch.
Also, please, please don’t force the threader if you’re meeting resistance. If the needle has slipped out of place, forcing the threader will only cause damage to the hook.
If nothing in this post works, you may need to have your machine serviced. It’s possible that the hook is bent. This can sometimes be repaired, but it is possible that your threader will need to be replaced.